Harvesting Heights: Designing Orchards on Sloped Land


Harvesting Heights: Designing Orchards on Sloped Land
When we first looked at our hillside orchard site, we knew the beautiful views came with unique challenges. Hillsides complicate everything—water runoff, soil erosion, equipment mobility, and planting logistics. Here’s how we tackled orchard design on our slope, and what we learned along the way.
Step 1: Reading the Landscape
To begin, we knew water management would be critical. We implemented straight keylines across the slope—not traditional curved keylines—to slow down water runoff and redirect it evenly. These straight lines not only helped manage water flow but loosened compacted soil, making planting easier. Early decisions like this proved invaluable as we scaled.
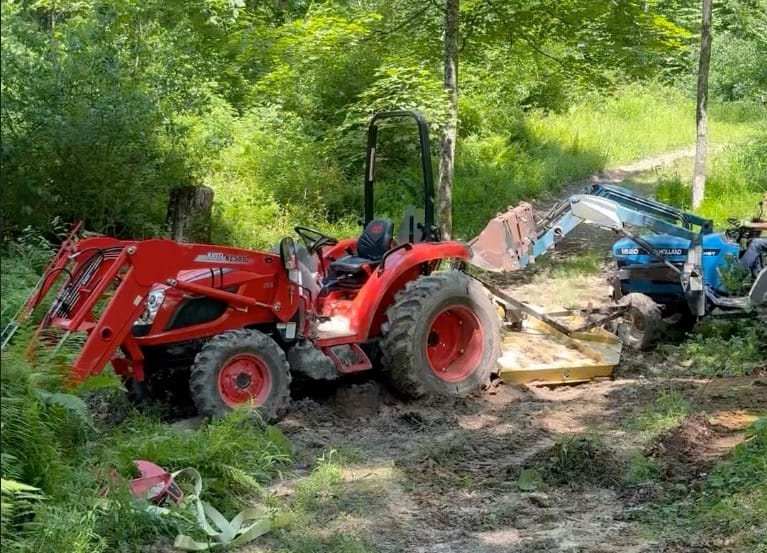
You can see the pond and larger hills of the terrain
Step 2: Managing the Mud and Movement
Working on a slope is labor-intensive, especially in spring when the mud is relentless. Proper footwear became an unexpected hero, turning frustrating slips into manageable movements. But the real MVP was our truck. Hauling seedlings, water, and equipment up and down the hill would’ve been nearly impossible without it.
We transported about 50 gallons of water in a tank to keep seedlings hydrated as we planted. Reducing our time on the hill when rain happened was another complication of being on a hill. It certainly created unique issues that would require more man hours versus using a tractor or truck.
Step 3: Breaking it Down Into Phases
Taking on the whole hill at once was overwhelming, so we divided our project into clear phases. Each stage provided a chance to learn and adjust our approach:
- Prep the Land: Competing grasses and weeds were aggressive. Initially, we relied on tilling, but quickly learned the hard lesson that hillside tilling without mitigation can lead to significant nutrient loss. This year, we’re turning to solarization. Using plastic sheeting will convert existing biomass while reducing erosion risks from wind and water.
- Subsoiling and Marking: Subsoiling in our 20-foot rows was incredibly effective last year. This year, we're marking each planting with stakes at 15-foot intervals, optimizing for sunlight exposure by arranging stakes up-down rather than in straight rows across the hill, borrowing insights from syntropic farming methods.
- Sheet Mulching: By late August, we plan to lay biodegradable paper sheets and corn-based sheets along our rows, topped with three inches of wood chips, creating an effective weed barrier and water retention system.
Step 4: Fall Planting and Protection
As autumn arrives, the stage is set. With clear markers from the stakes, planting seedlings will be straightforward. Each tree will receive protective measures against deer, safeguarding our young orchard investment.
Step 5: Pathways and Pollinators
Next spring, we’ll remove any residual plastic and establish foot traffic pathways. These paths won't just be functional—they'll burst with wildflowers, native clovers, and other beneficial plants, adding beauty and ecological diversity to our orchard.
Lessons Learned: Embrace the Stages
Hillside orcharding taught us patience, adaptability, and respect for the power of incremental progress. Clearly defined phases weren't just convenient—they were essential. Each stage informed the next, making our methods stronger and more refined. Careful planning and practical adjustments turned a daunting hillside into a thriving orchard.
Building an orchard on a hillside isn't easy, but with intentional design, thoughtful water management, and respect for the land's unique needs, the rewards—both ecological and aesthetic—are immeasurable.
